Appearance
Products
Time is money so let's not waste any second and get started by adding the first product to your store.
From your admin panel use the sidebar to navigate to the product management feature. Right now there isn't any data on this page yet! Let's get started by pressing the "Add product" button to create your first product listing.
There are a number of decisions we’ll be making on this page, so let’s break them down into steps.
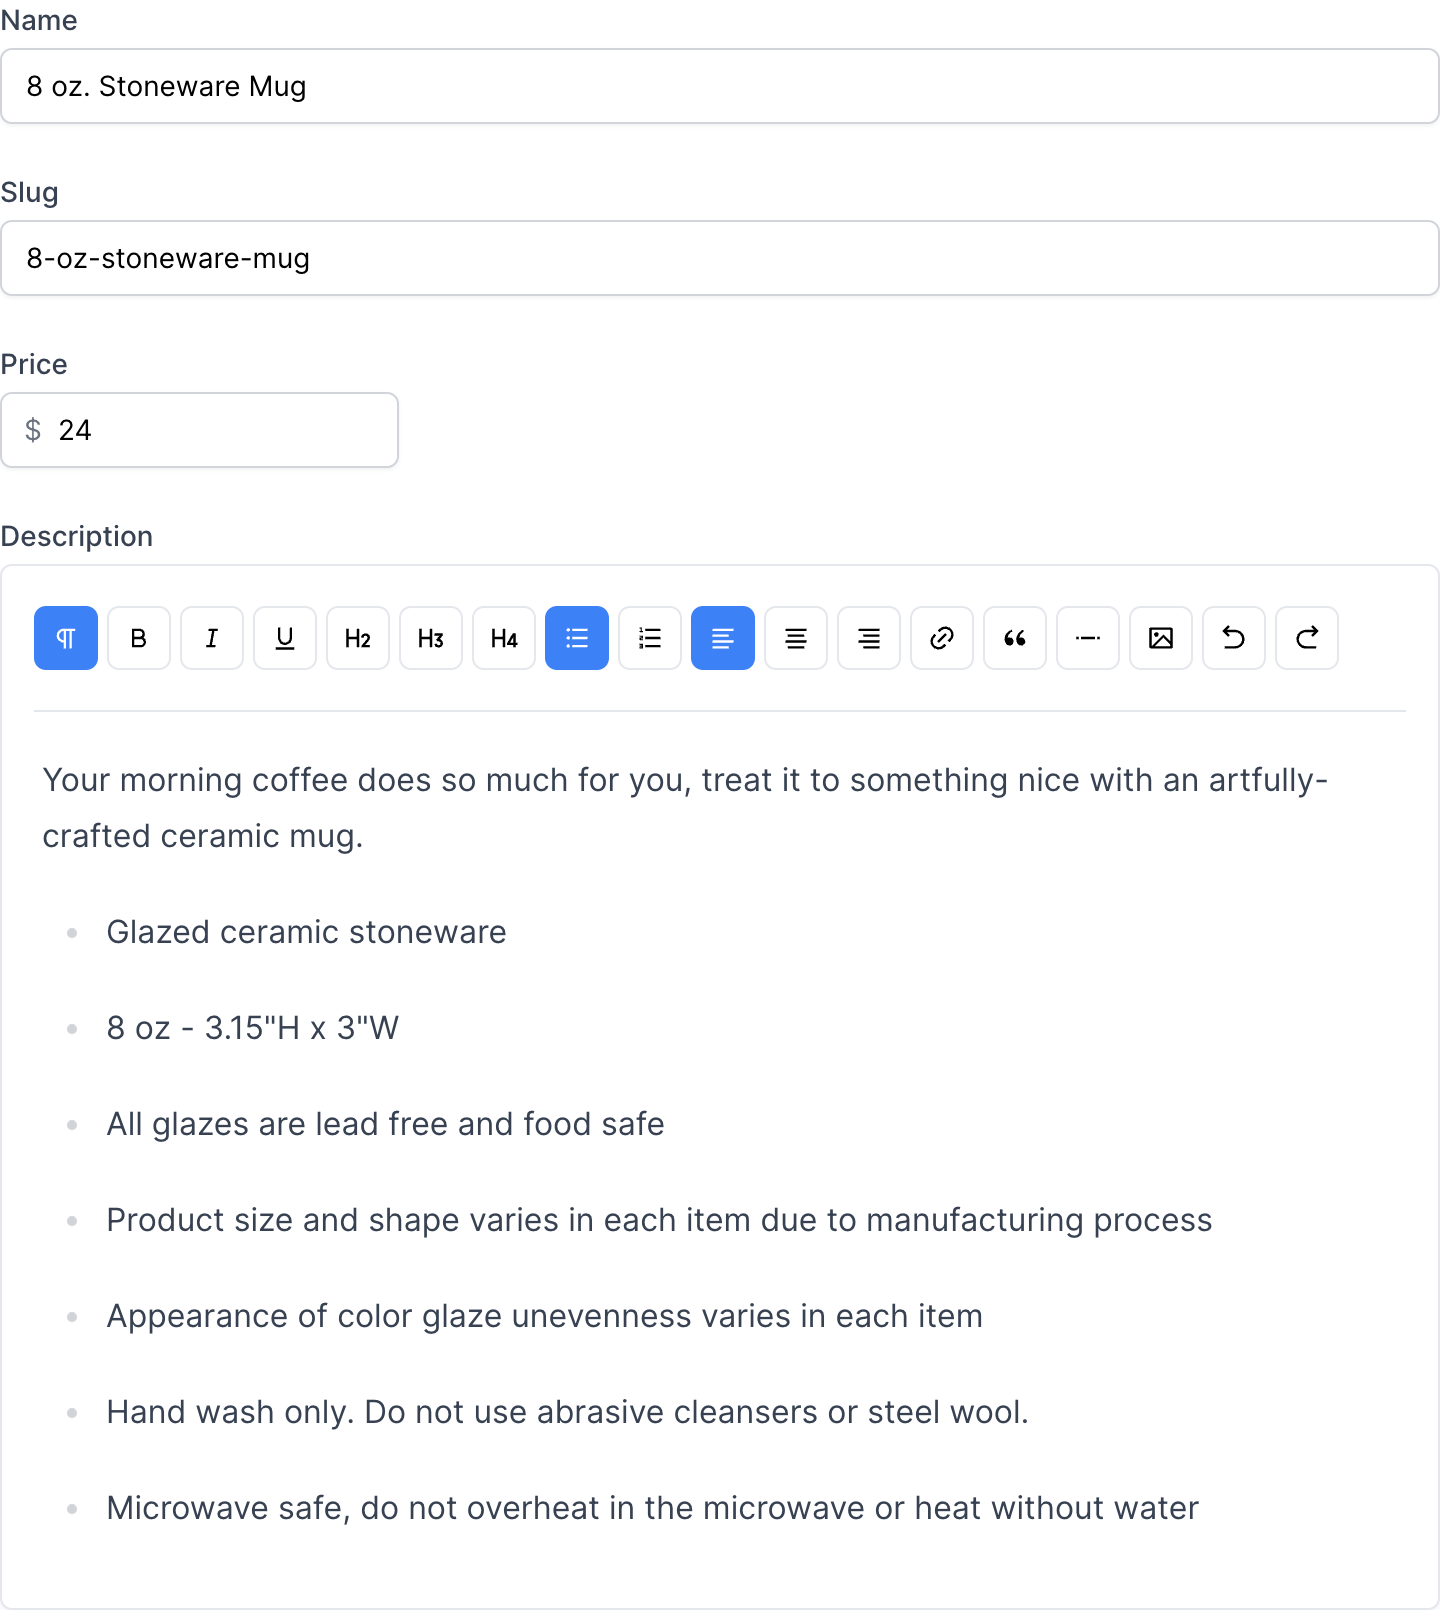
Write your product title and description
Product pages are where customers go to learn about a product and decide whether to buy it. Details matter, and sharing the right information in the right way, from pricing to sizing, through text or visuals, can make all the difference. If you’re not sure what to include as you create your own online shopping website, you can look at others in your market for inspiration.
Your product title should make it clear what the product is. This is what customers will see as they browse your store and what will help them find what they’re looking for in your catalog. Try to keep it short and use your product description or variants (more on those later) to surface other specific information or product options, such as colors or sizes.
The Slug field is auto-generated however, you may customize it to suit your own needs.
The next field is Price, this is used for your marketing purpose and boilerplate your pricing table if your product has many variants.
Product descriptions describe and sell your product. They’re also a common source of writer’s block. The good news is you don’t need to be a professional copywriter to write a compelling product description. You just need to:
- Know who you’re speaking to. Think about what your customer needs to know to feel confident buying your product and try to communicate it in your description.
- Highlight incentives. Do you offer a generous return policy or free shipping? Are your products eco-friendly? Consider what features, benefits, and offers really matter—and cut the fluff. Many stores mix text and icons to quickly communicate these selling points on their product pages.
- Anticipate common questions or objections. What might make a customer hesitate to buy? Are they afraid of buying the wrong size? Do they need to know what your products are made of in case they have allergies? Do they need to know that your products are ethically made?
- Make your text easy to scan. Make your descriptions easier to read with short paragraphs, bullet points, subheadings, bolded text, etc. Then ask yourself how quickly a visitor can pull out the information they need.
- Help customers see themselves using your product. Customers can’t taste, feel, touch, or try on your products. Outside of product photos, you can bring your products to life by listing the materials you use, including a sizing chart, or sharing the story about how they’re made-it all depends on your product.
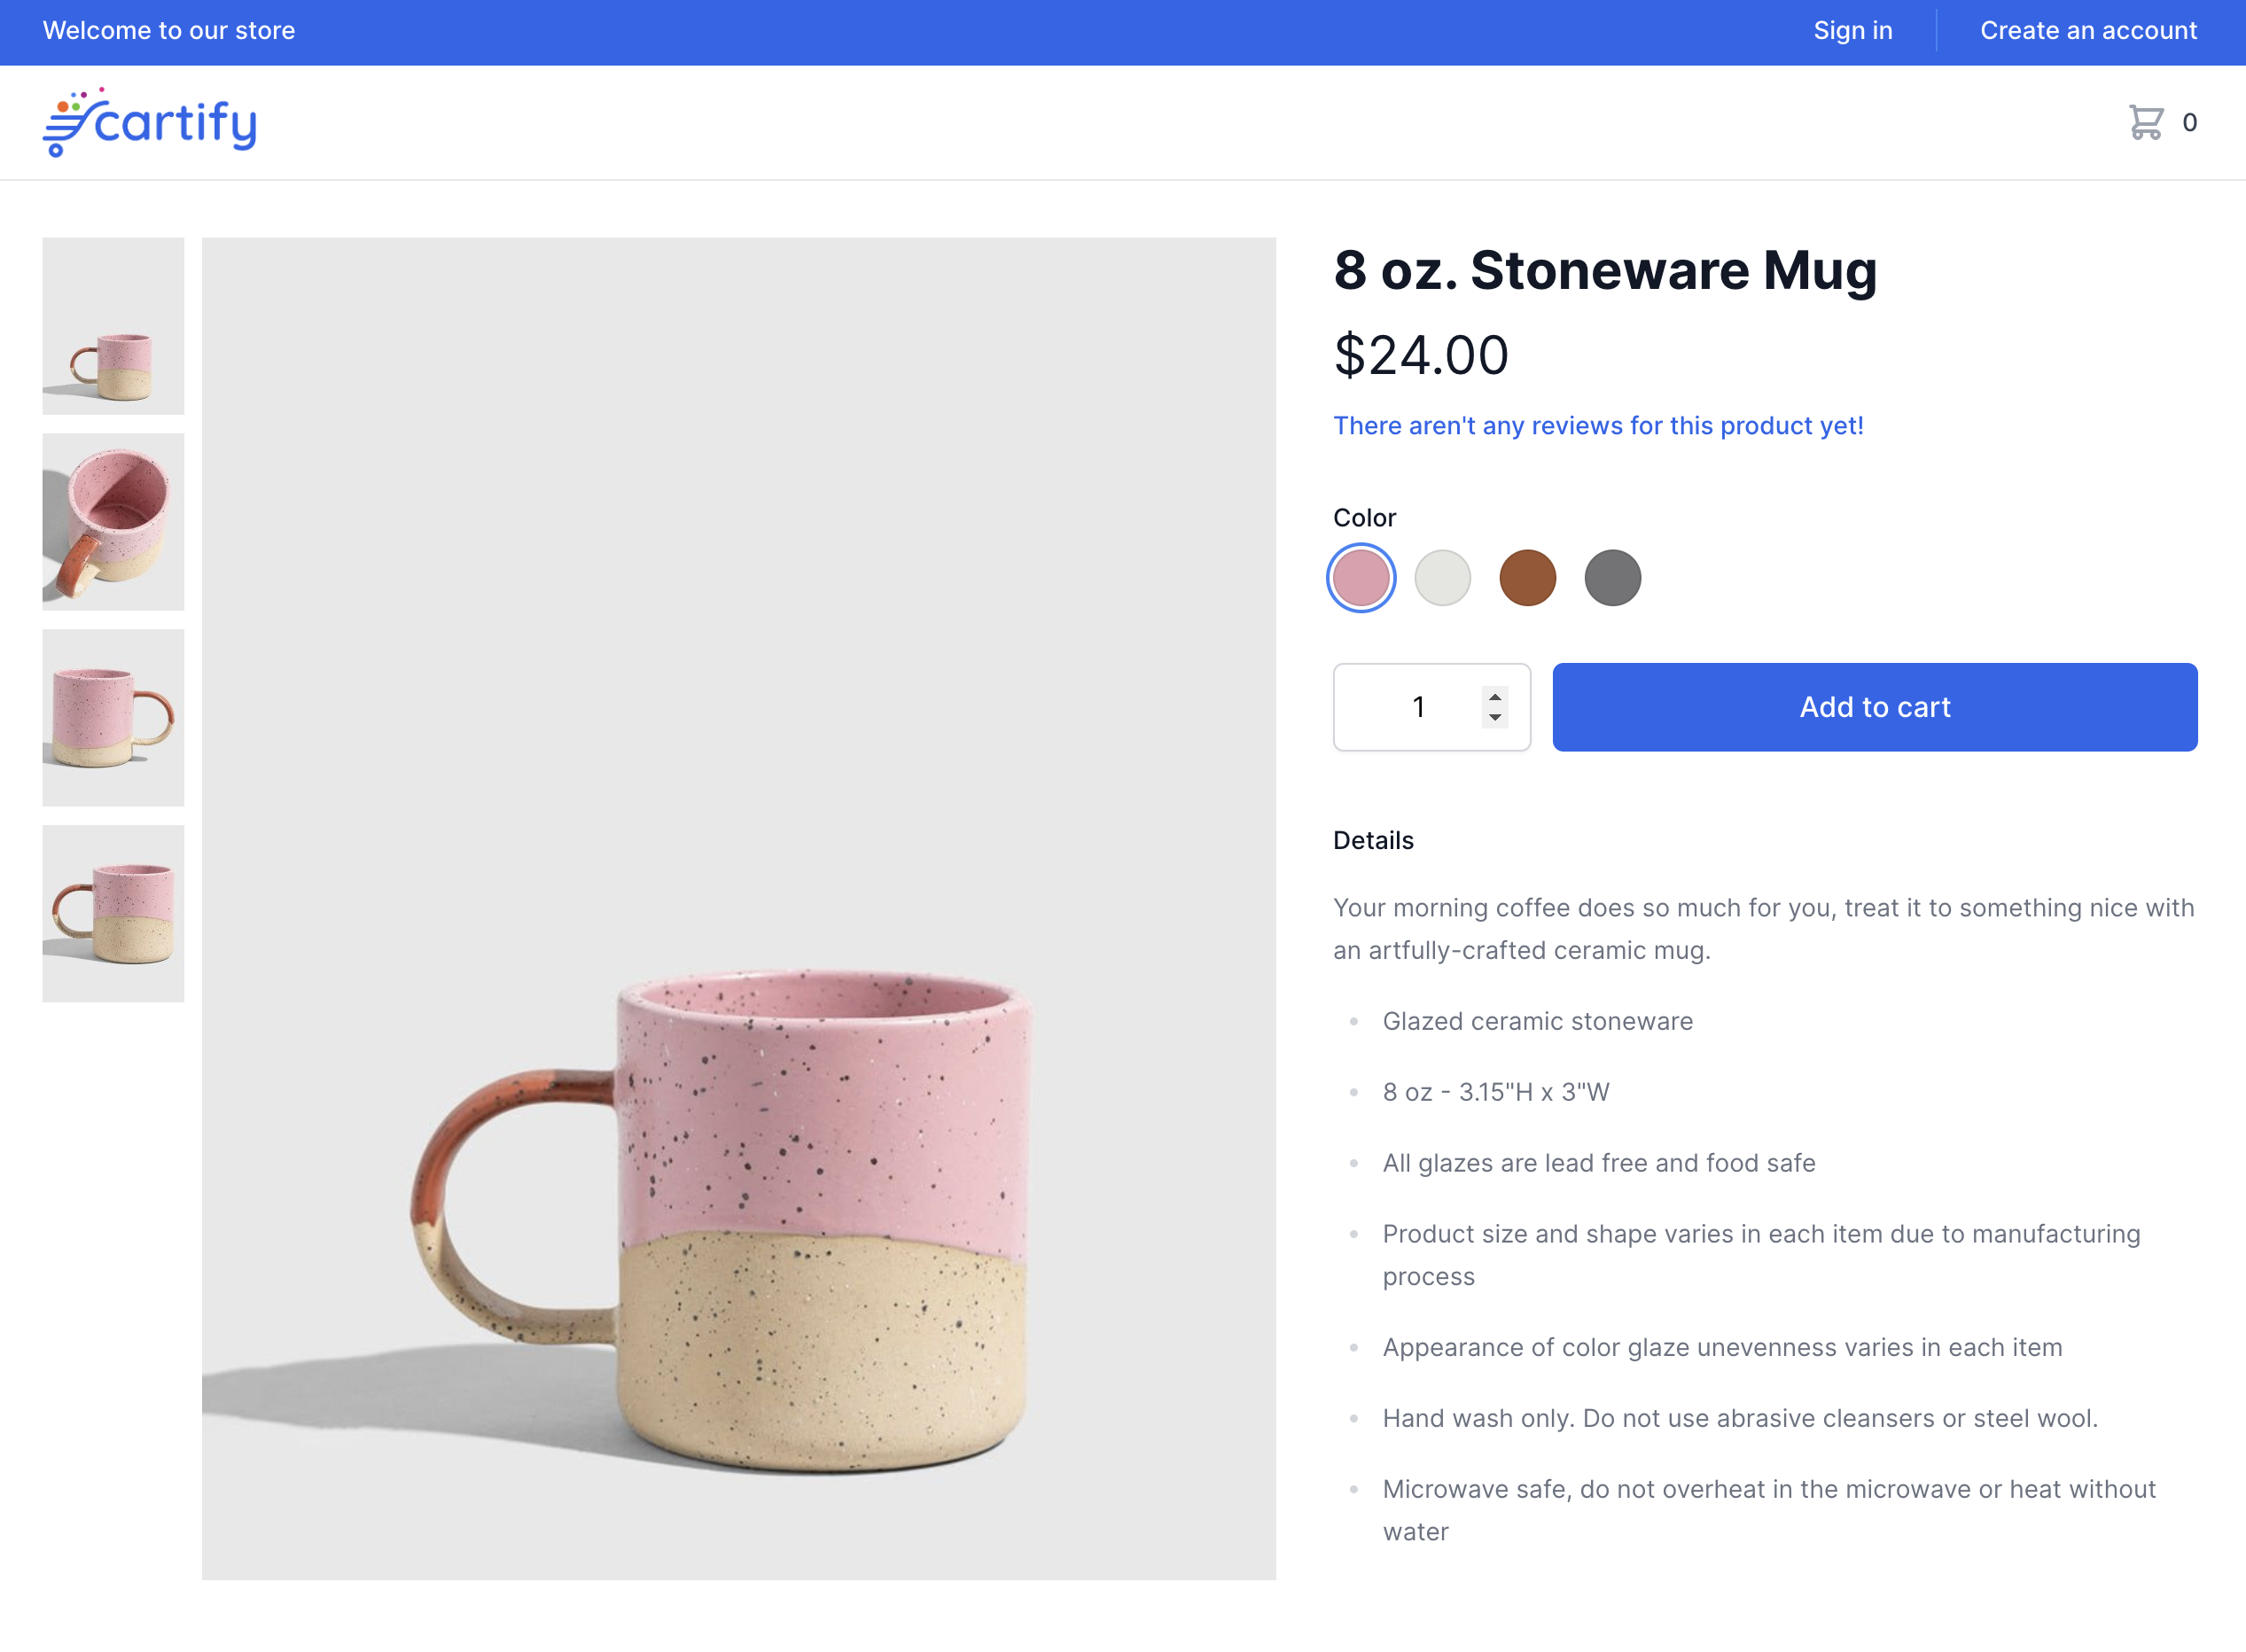
For a product like ceramic, we can confidently assume customers care about the following details in particular when making a purchase: colors, sizes, and is it safe to use in the microwave. So I’ve done my best to make all this information accessible at a glance for my store’s visitors.
Now, hit save to add your product then you will be redirected to the product page with previous information plus more settings.
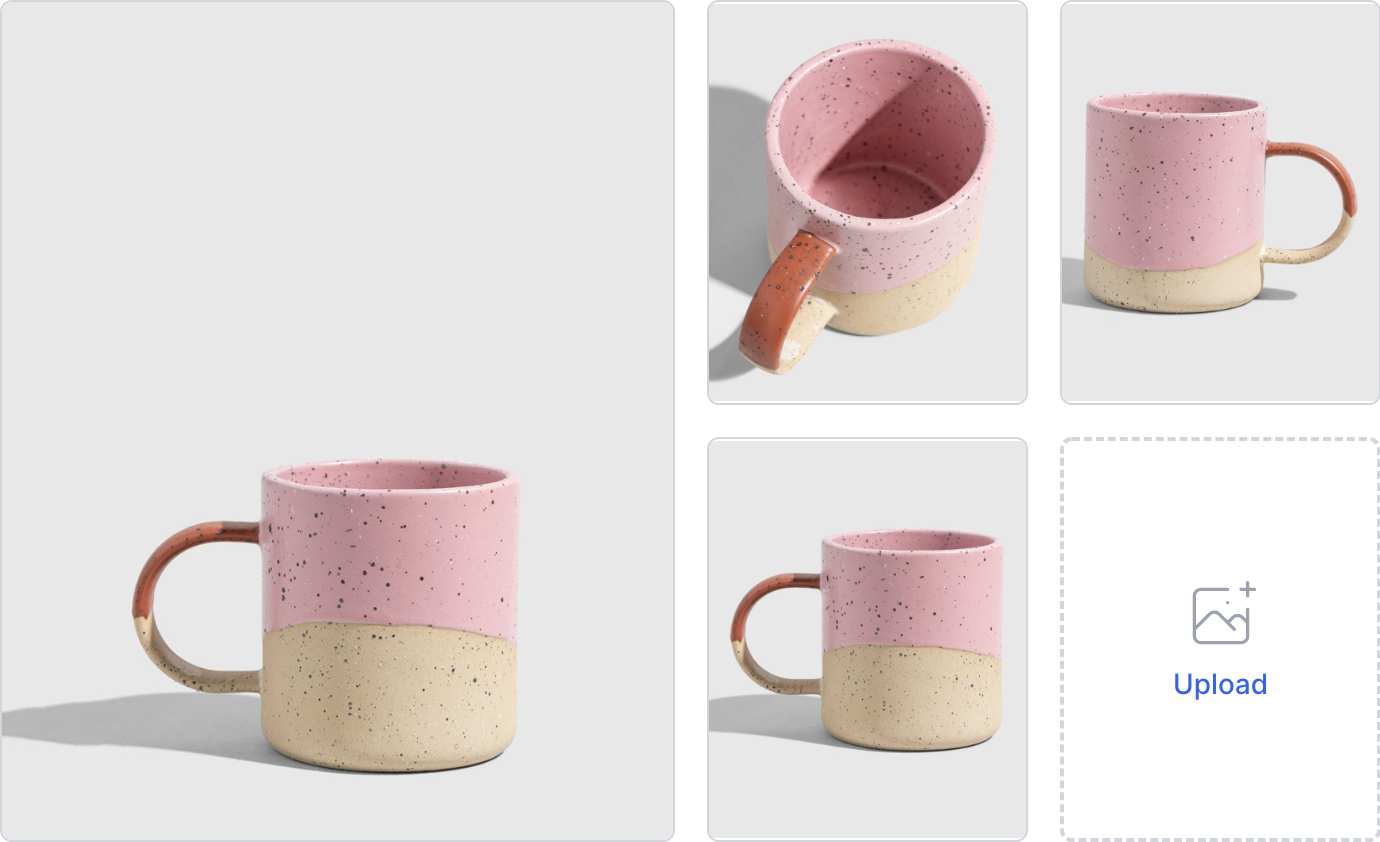
Upload product photos
In the Media section of your product page, you can upload photos that help you share richer details about your products.
Presentation makes all the difference. Help customers imagine owning your product. Help them see it in action or proudly displayed in their space. Here are a few points to remember:
- Use high-quality photos that put your products in the best light. Avoid blurry or low-resolution images.
- Try to maintain the same aspect ratio (i.e., the ratio between the width and height) across your product photos so that all your photos appear the same size. This consistency creates a cleaner, more professional appearance when you create your online store.
- If you’re on a budget, most modern smartphones are capable of shooting high-quality product photos, and you can use any free photo editing tools to touch them up (like removebg, which lets you remove the background for free).
I’ll be using some photos of the mug on a gray background like so:
TIP
Please ensure your APP_URL in the .env file matches your current browsing domain otherwise, you won't see the uploaded photos.
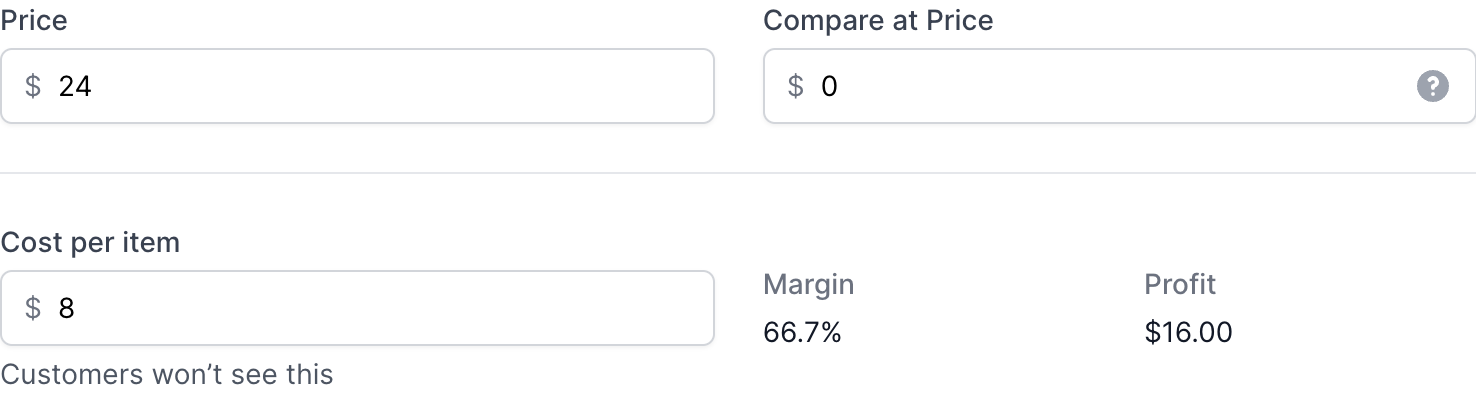
Set your price
Remember the price which we've set in the previous step? On this page you will have few more options such as:
- The Compare at price field to communicate what the product would typically cost, especially in the case of a sale. For example, if we wanted to show savings on buying our Have a nice day tee three-pack, we could enter the original price of three shirts here. However, I caution against using this without good reason, especially if you’re selling premium products, as it could cheapen their perceived quality
- The Cost per item field is also optional. If you like, you can use it to track your profit margin for an individual product.
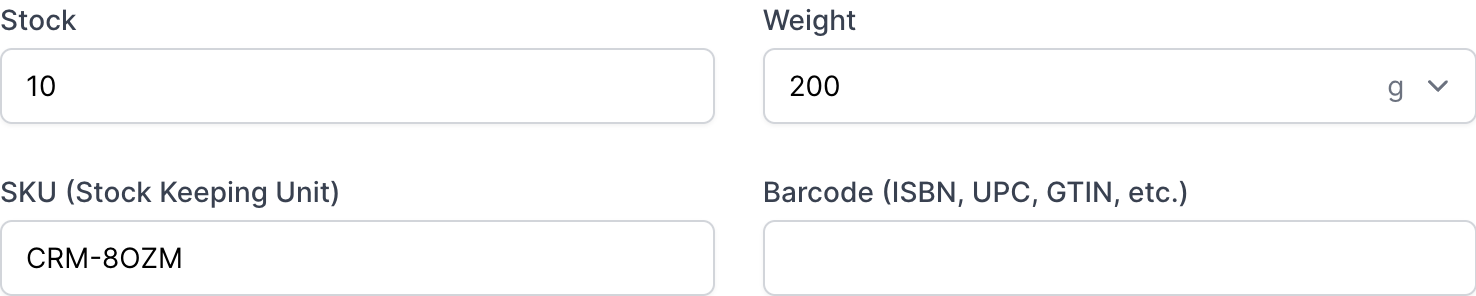
Inventory
If it’s your first time selling online, you might see a few unfamiliar terms here, so we’ll quickly run through them.
- SKU. A stock keeping unit is used to track and manage your inventory for specific products and variants. Create a consistent system using numbers or letters that makes it easy for you to identify what the exact item is at a glance ( e.g., TEE-HVND tells me it’s the tee named Have a Nice Day).
- Bar code. (UPC, GTIN, etc.) are typically used if you’re reselling products or eventually want to add scannable bar codes to your items for easier inventory management.
- Quantity. This is how much of a specific product you have on hand.
- Weight. The weight of one shirt on its own. I'm going to enter 4.5 oz.
Options
If your product comes with different variants, like sizes or colors, instead of adding each one as its own product, you can simply add them as variants of the same product. Each option can have its own image, price, tracked inventory, and individual settings associated with it.
You can even drill down further on your options, for example, offering multiple colors that each come in different sizes.
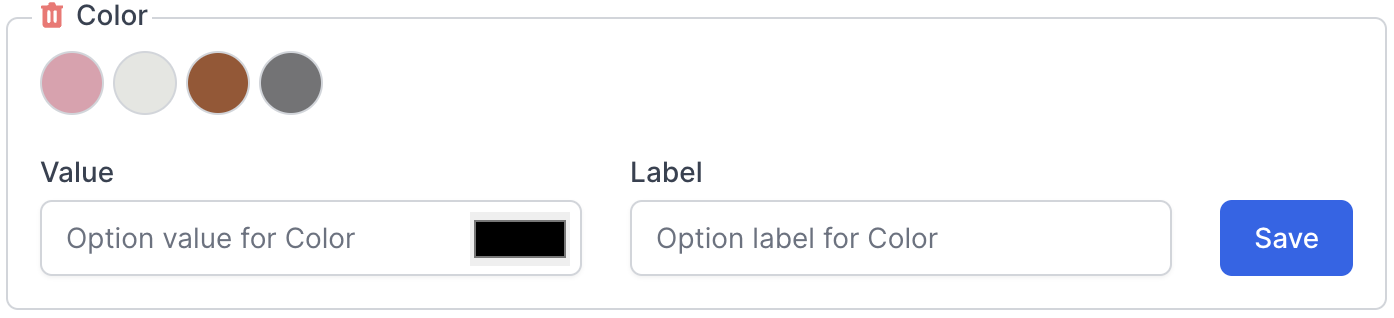
You may try it out by hitting on the Add New Option button to open the product option form. From here you can see there are some fields for you to add an option like:
- Name is the name of the option such as Size, Color, Material...
- Visual is how the option is represented to your customer:
- With Text, it will display as normal text (usually used in the size option).
- With Color, it is usually used on the color option as you can use hex code (eg: #000000 for black, #ffffff for white...) or named color (eg: orange, blue, red...).
- With Image, it will display as an image that is usually used for product material.
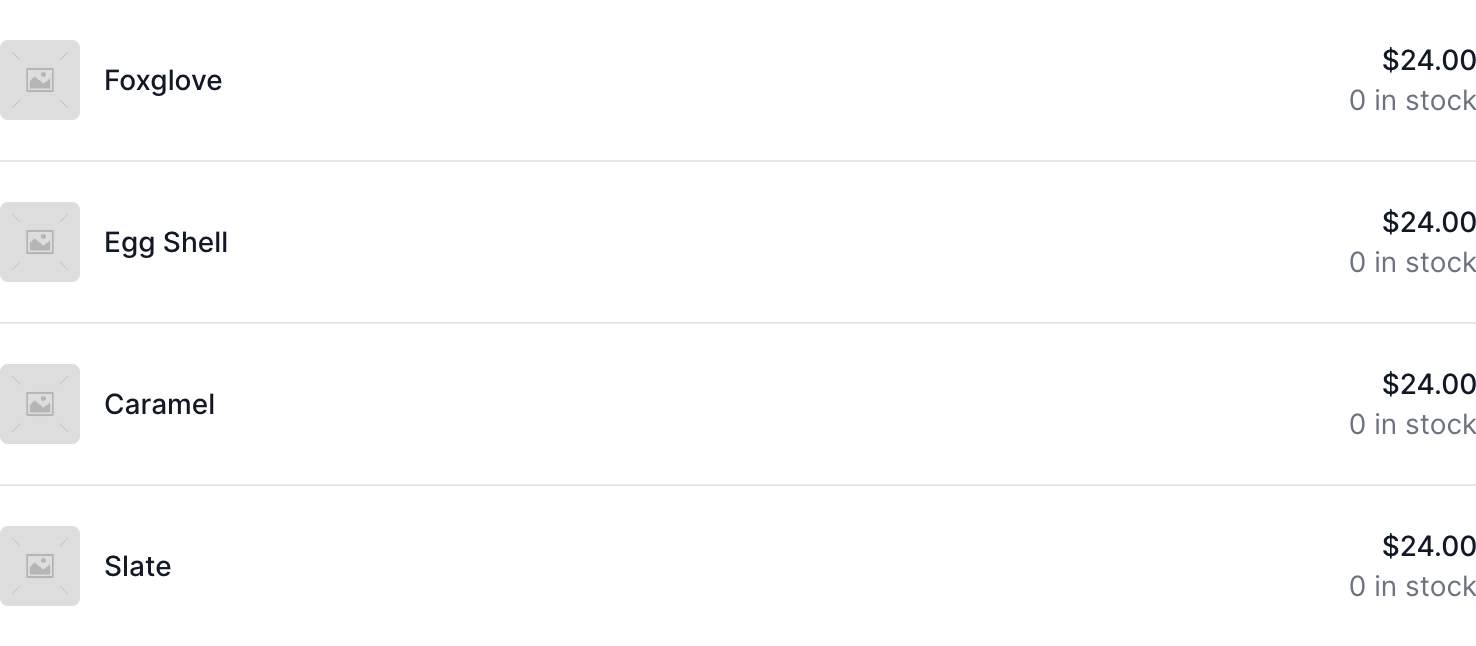
After the option is saved you will see a list of the product's options like so:
And the product variants are also generated as follows:
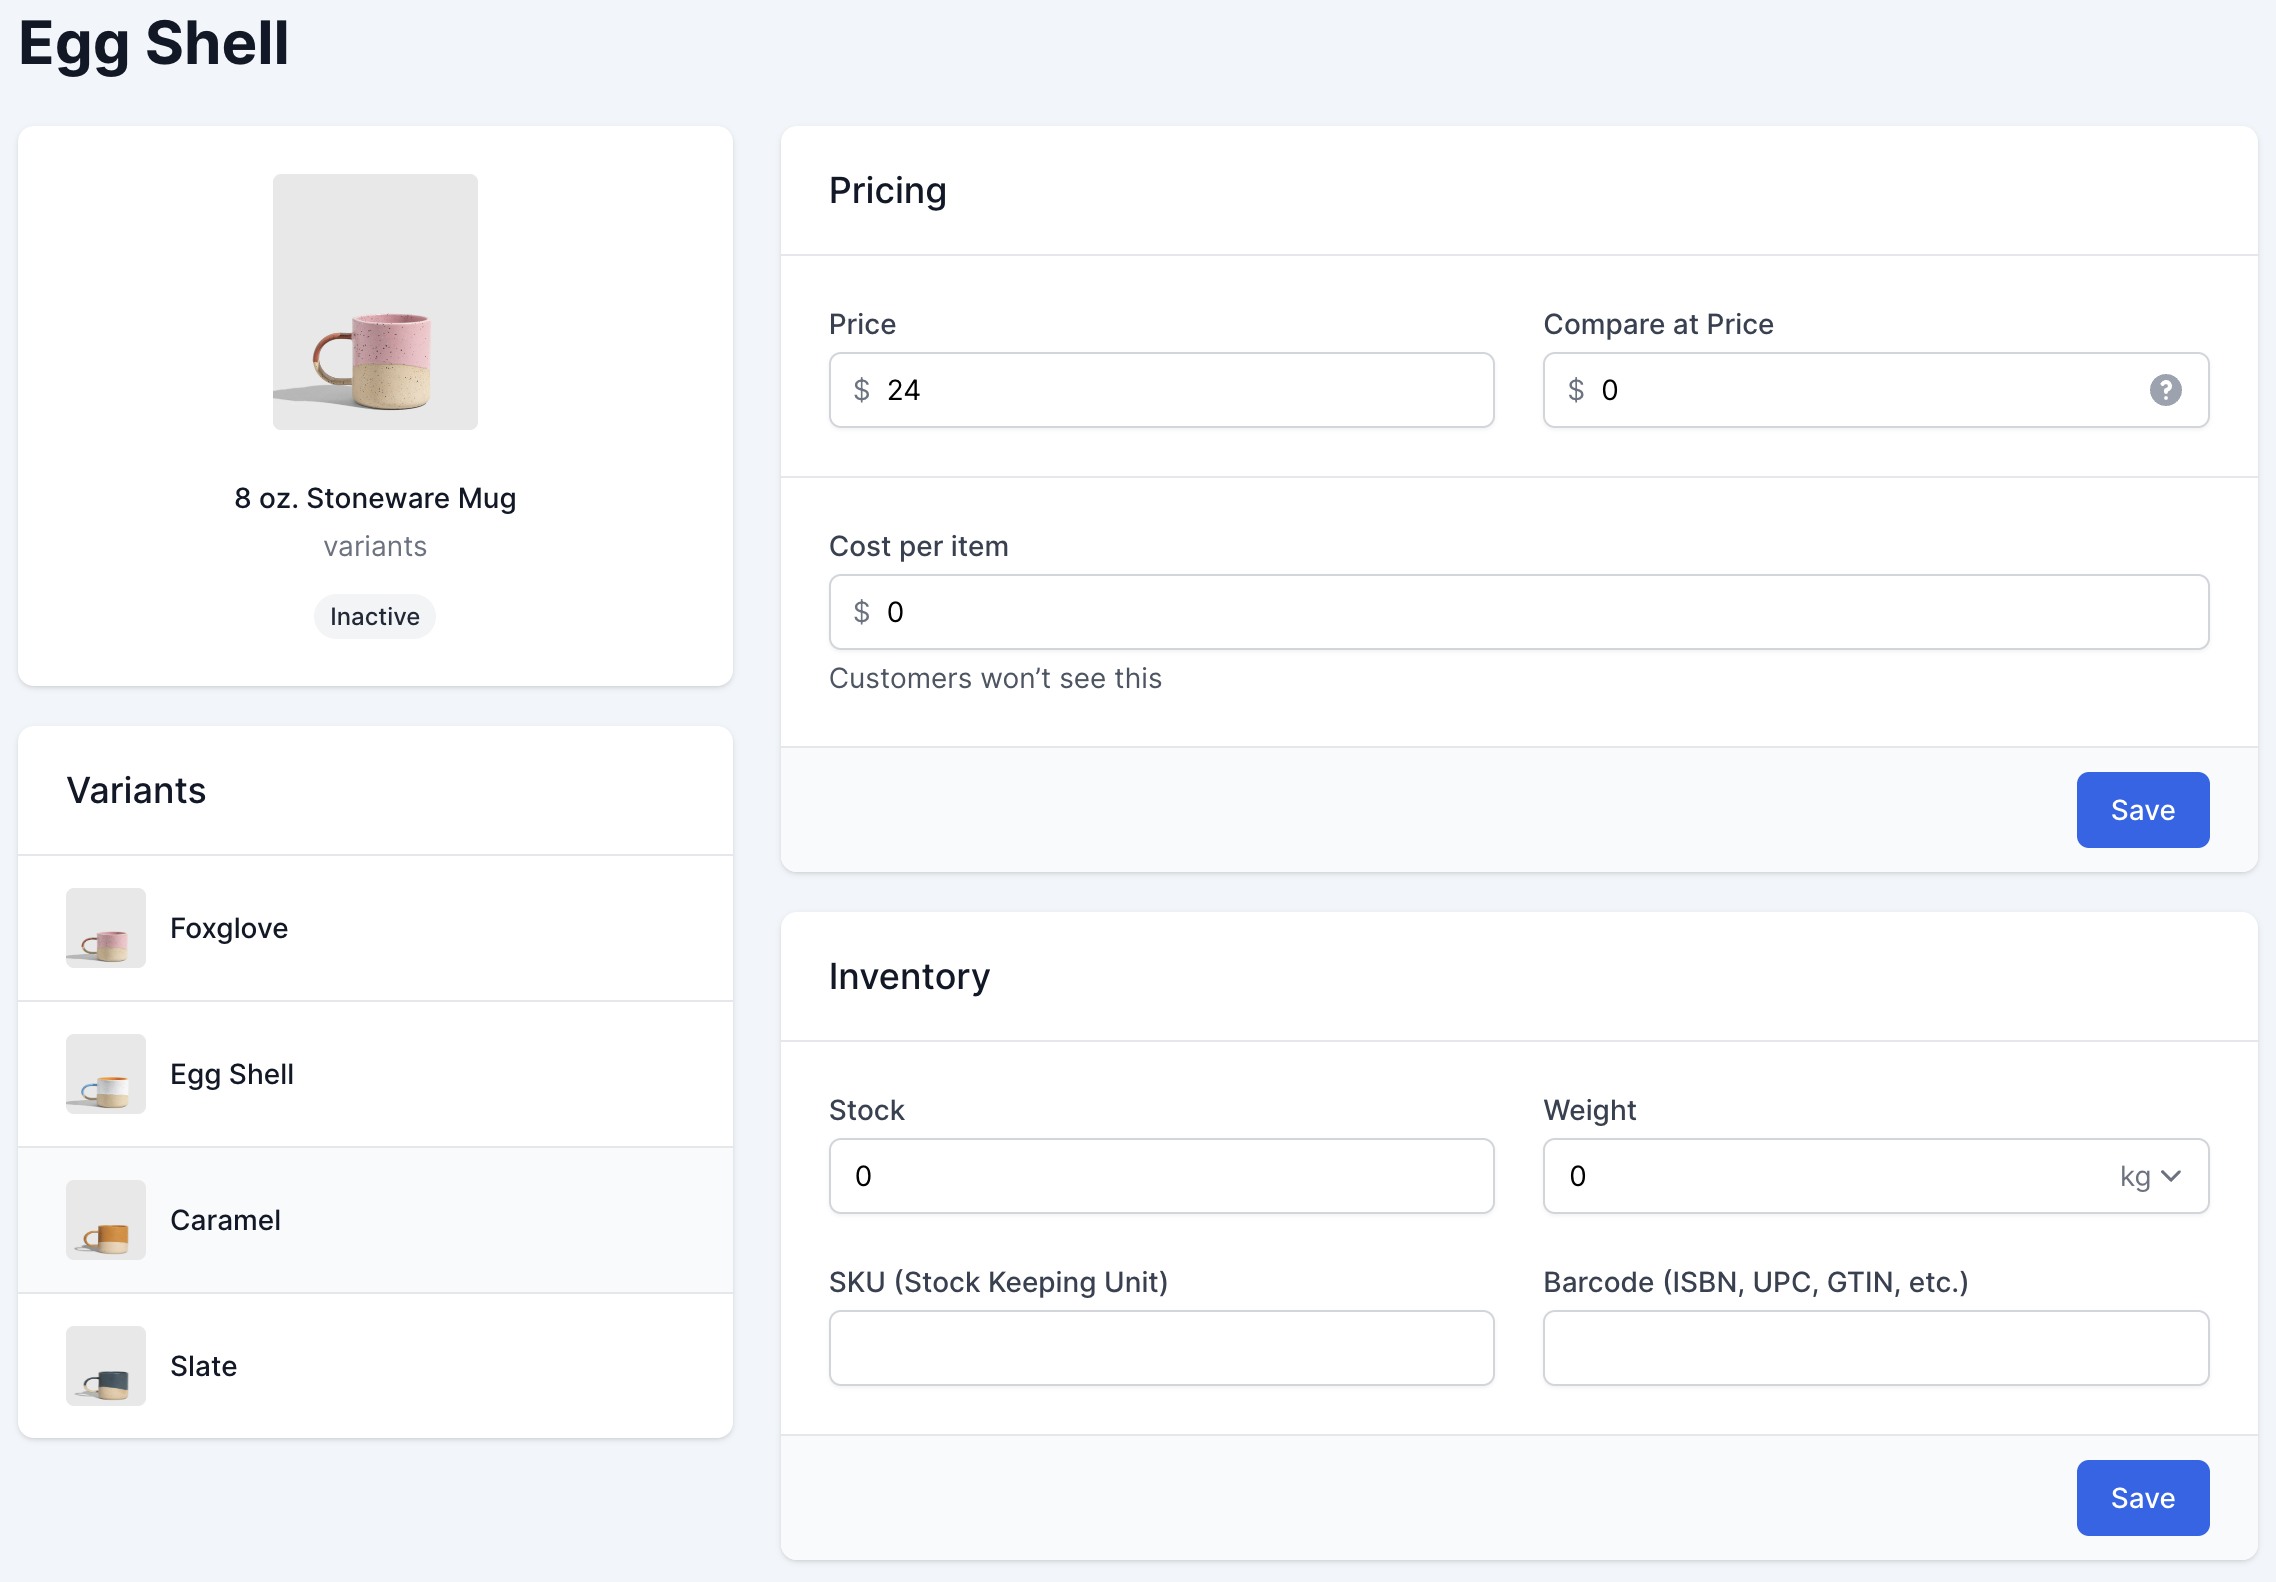
When you add variants to your product, the Media, Pricing, and Inventory sections we covered above will need to be set for each specific variant. Just click on one of the variants on the list to go to the selected variant management page.
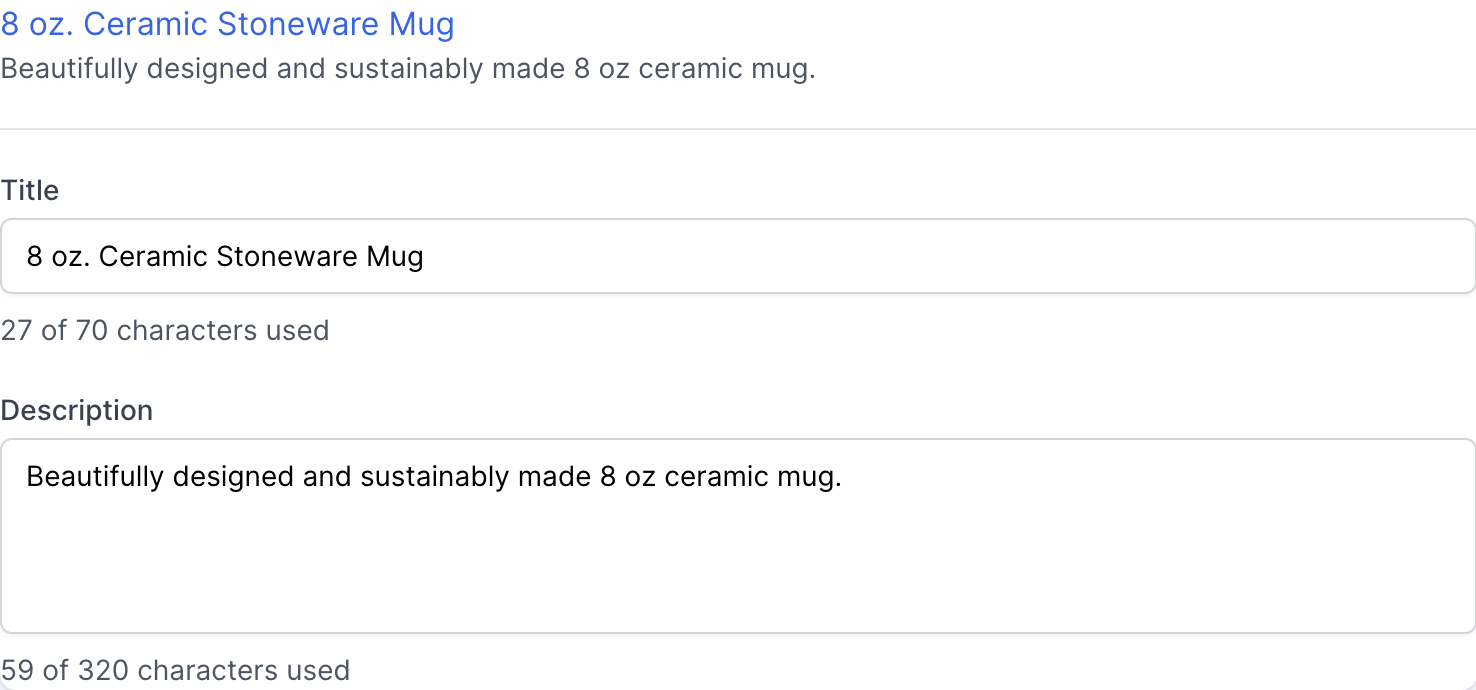
Search engine listing preview
The search engine listing preview is where you can customize how a page appears in search engine results. It’s also where you can improve the discoverability of your products through search engines like Google.
If you know what keywords your target customer is using to search for products like yours, you can work them into this section to increase your odds of showing up in search engine results over time.
We’ll go into more depth about SEO later, but here are some quick tips for optimizing this section in the meantime:
- Title. Write your page title, so it includes your target keywords while still being short and descriptive enough to click on. I’m going to focus on "8 oz. Stoneware Mug" since it’s the most relevant to this product. Aim for under 70 characters if you can so your title doesn’t get cut off in search results.
- Description. Use this space to surface any compelling information that might persuade searchers to click through when they see a link to your product in search results or on social media. I try to keep it short and sweet while expanding on the information presented in my page title.
Once we’re done, scroll up to the information section and use the switch to toggle your product status, after that press the Save button. Now you can now use the preview link to open the product page to see what it looks like.
You can repeat this for each product you want to add to your store, while keeping in mind that you don’t need to add all your products in order to launch.